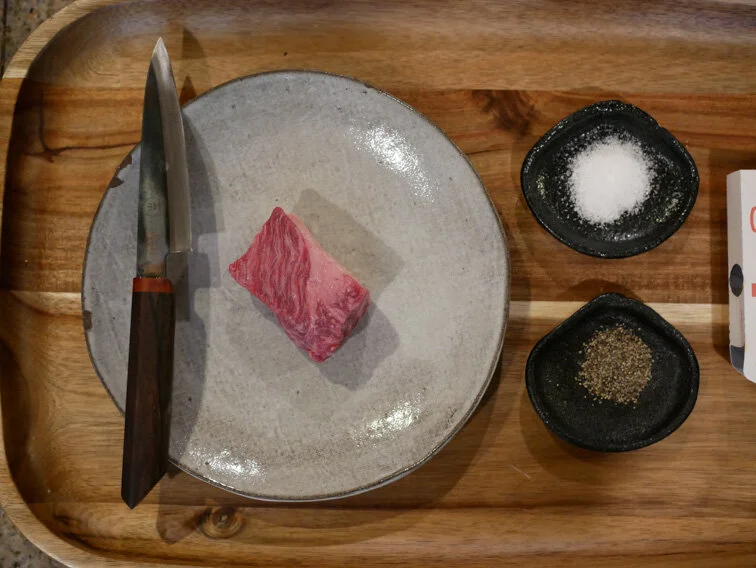
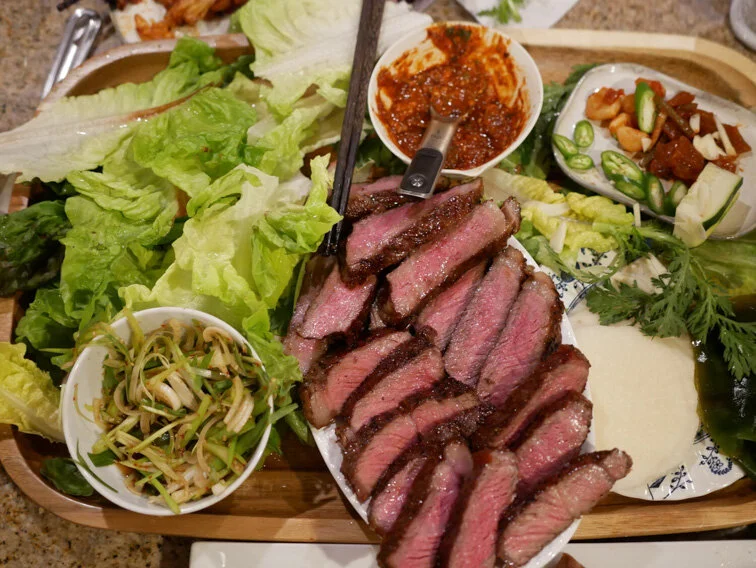
(We will be updating this section more, with a grilled steak to come, and video accompaniment)
Here are some cooking tips for a perfect seared steak!
****PRELIMINARY STEPS: Cook with CONFIDENCE***. Then, here are a few additional tips that can help to optimize your cut. Generally it’s better to use a heavier bottomed pan that conducts heat well and won’t decrease in temperature when you add cooking materials/ingredients to it. Cast iron is a good low-cost option. Blue Steel/Carbon Steel is nice too.
Use all your senses!
Hear the sizzle.
Aim for a color between golden brown and dark brown.
Less is more, don’t move the steak too much.
You can feel the doneness of the steak with practice which I’ll leave for a later time!

STEPS:
1.Take out of refrigerator 30-60 minutes before cooking
2. Dry steak with a paper towel if there is excess moisture.
3. Salt and pepper 10-20 minutes before cooking. Too long and the moisture may come out of the steak. Too short and the salt won’t sufficiently reach the center to fully flavor the steak. (I will include a video on how much salt I like to use to maximize. I use Diamond Crystal Kosher salt most of the time. It is less salty than other salts, easy to pickup, melts quickly into the ingredients.

4. Get pan medium hot (assuming 10,000 BTU burner), it should take about 45seconds-1 minute 15 to get hot. You should be able to hold your hand 6 inches away from the pan for a few seconds but not much longer. Pan should not smoke, otherwise it will be too hot when you drop your oil.
5. Add a few tbsp oil to the center and swirl around where you plan to sear the steak after pan is hot. (using a Neutral oil, preferably safflower or rice bran oil. No extra virgin olive oil, no cheap canola oil, no butter). The more fats you introduce and more flavored fats, the more it will take away from the natural flavor of the delicious beef fat.
6. The oil should start to separate and shimmer but the oil should not smoke. If it does, dump out oil, wipe down with tongs holding a towel, and restart. As oil starts to shimmer and separate, you can test the oil with a wooden chopstick to see if you hear a sizzle. Before the oil smokes, put steak in. Drop steak slowly away from you so the oil does not splash and burn you! You should hear the sizzle. If not, you are likely drowning your steak in oil.
7. Let the steak sear! Don’t touch it too much! You will see the color starting to come up the side of the steak. Check it after 1-3 minutes depending on thickness of steak. Aim for a nice slightly-beyond golden brown but before dark-brown color on one side.
8. Do same to other side! Now, you can baste (use a long spoon to spoon the rendered liquid(fat+meat juices) on top of the steak with the rendered out Wagyu Fat. Do not introduce butter at this stage for Japanese Steaks. I believe butter takes away from the fat of the wagyu.
9. Highly marbled Japanese wagyu steaks taste better between medium rare and medium in my opinion rather than rare and medium rare for a western steak. (It allows the fat to melt more and basically flavor the meat from the inside out). Our Australian Wagyu (50% Wagyu/50% Holstein) and American steaks taste better between Rare and Medium Rare.
10. Take off the heat, put on a cutting board, and let rest 5-10 minutes.
11. Drink some good wine.
12. Slice across the grain. (tip: If the steaks are thin, cut at a 45 degree angle so you have wider cuts of meat)

13. Add a tiny amount of salt on the freshly cut meat interior to bring out the flavor more.
14. ENJOY!
Should you have any questions on which way the grain runs, or other cooking inquiries, send us a picture. tag us @pursuitfarms #pursuitfarms or shoot us an email. beef @ pursuitfarms.com

Customer cooking our Wagyu

